
Hey! Crafters!
They say that action speaks louder than words, and there's no better way to say you appreciate someone than through gift giving. So here is a new tutorial on a handmade birthday card.
This can be a really good gift if you want to surprise the person you are gifting it to. When you open this card, it will look like any other ordinary card but when you pull the ribbon at the center of the square..........it will pop up into a box.....isn't that astonishing! ..............later you can simply push the box in an anticlockwise direction to deflate it. So if you are thinking that making this card is very difficult then you are wrong ....here are the steps to make this SURPRISE BIRTHDAY TWIST CARD.
YOU WILL NEED
1) Cardstock Paper
2) Decorative Papers
3) Design / Border punch
4) Pencil and Scale
5) Glue/ Adhesive
6) Rubber band
7) A Pair of Scissors
8) Ribbon
PROCEDURE FOR MAKING
1) Take a cardstock paper cut it according to the template given and score all the lines. Make a hole in the center of top and bottom marked squares.


2)Cut out decorative paper 4.5cm*4.5cm square, 8 triangles measuring 4.5cm*4.5cm (base*height).

3)Start sticking the decorative paper on the sides of the box. Also, make a hole on the top side of the box and insert a piece of ribbon making a small loop. Insert the brad pin on the hole of the bottom side as shown.

Secure the ribbon by making a knot on the other side.

4)Now, apply glue on the combined flaps and stick them together. After this make a hole as shown below. Make a cut through the hole so that the rubber band can be inserted later.
{ Here I have glued the flaps together and the made a hole in it, you can also do it the other way}


5) Flip the cutout, and now insert a rubber band in one of the holes.

6) Start sticking the flaps with there adjacent sides.


7) Insert the rubber band on the other hole. And stick the last side of the box. Now the box is ready.
{ Try to gently deflate the box by pushing and twisting it in an anticlockwise direction}


8)Take another cardstock paper of measurement 14cm*29cm and score the lines. Mark at 11cm, 12cm, 23cm and 24cm.


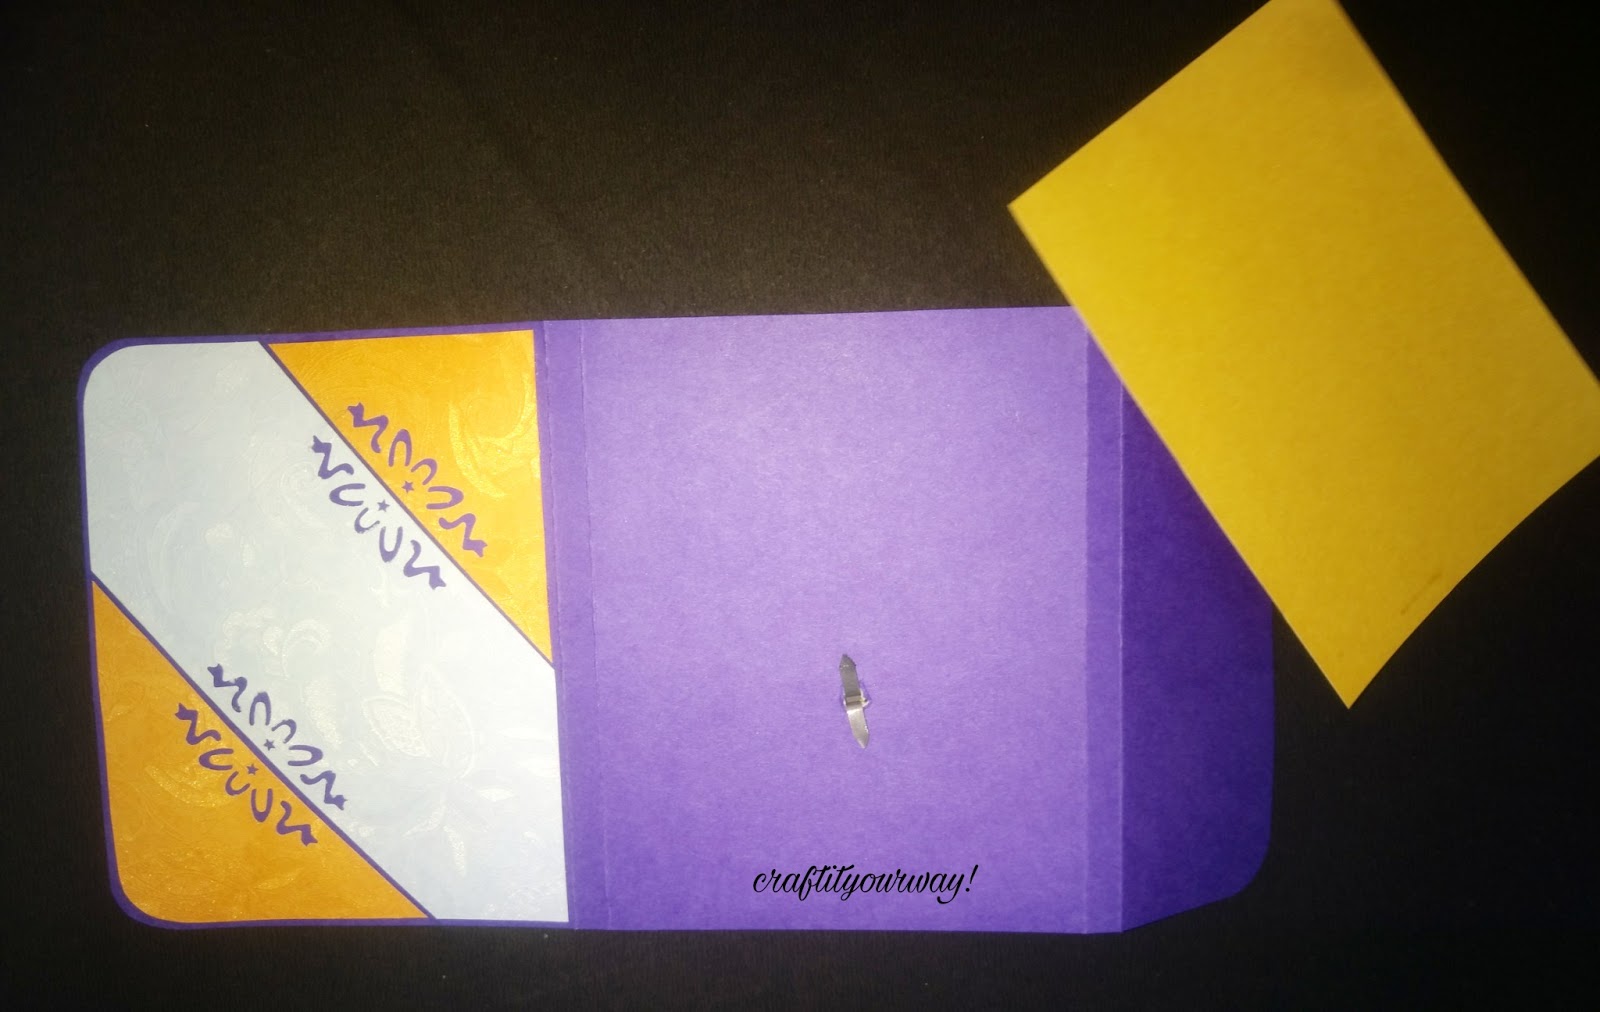
9)Cut decorative paper of size 13.5cm*10.5cm and stick them on the cardstock paper.

Make a hole in the middle part of the card so that the box can be inserted into this.

10)Now take the box, put the brad pin through the hole of the card and then spread its legs away to secure them.


Now take a decorative paper and stick it on the middle portion of the card.

11)Now for the decoration part, choose any quotations of your desired occasion, take out its print, stick it on another cardstock paper, design cut the paper and stick it on the left side of the card. Decorating a card can be a personal choice.

The card is now ready. To pop up the box gently pull the ribbon and gently push the box in an anticlockwise direction to deflate it.

Hope you all liked it.
THANK YOU!
Wow����
ReplyDeletethank you
DeleteAwesome
ReplyDeletethank you
Delete